Getting the right portrait will take a combination of skills: your ability to pose your subject, the lens you use and of course the lighting pattern that you opt for.
Depending on the tone or feel you’re trying to create, there are a number of different lighting techniques you can use to flatter your portrait subject.
All of these lighting setups take some practice, but if you persevere and learn them all and become well acquainted with them, you’ll know exactly which to use when your next subject enters the studio.
The most commonly used and therefore the techniques we’re going to run through here are:
- Split lighting
- Loop lighting
- Rembrandt lighting
- Butterfly lighting
Split Lighting
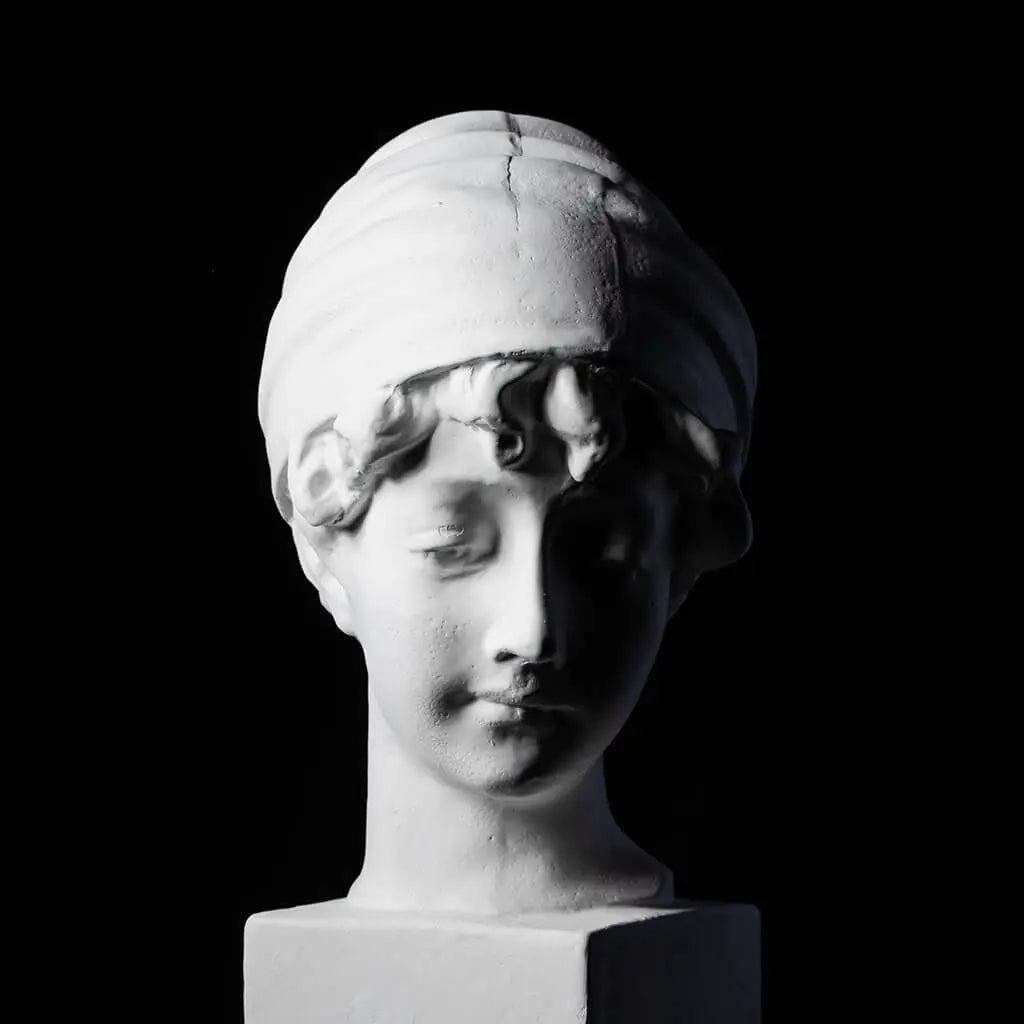
Split lighting does exactly what it says on the tin… You split the face into two equal halves. One side of the face will be lit, the other side of the face will be in shadow.
This is a great technique to create dramatic looking images.

In order to get the split light look, place your light at a 90 degree angle to the subject.

If the light doesn’t quite hit 50/50, you can ask your subject to move their face slightly to get the exact look you’re after. This is often a lot easier than trying to move the light source.
Loop Lighting
We call it Loop Lighting because this particular technique creates a light shadow of the nose on the cheek of the subject.

In order to achieve the loop lighting effect, your light must be higher than the eye level of your subject and at an angle to the camera, somewhere in the region of 40-45 degrees.

Rembrandt Lighting
As you might imagine, Rembrandt Lighting is named after the famous painter Rembrandt, who used this pattern of lights in many of his paintings.
With this technique, you will get a definite shadow of the nose falling on the subjects cheek.

Similar to Split Lighting, the Rembrandt technique has a very dramatic feel to it. Not everyone will like this very definite shadow on their face, so use the technique wisely!
In order to achieve Rembrandt lighting, you need to turn your subject away from the source of light.

The light source needs to be above the head, so that the shadow is cast downwards, away from the nose.
Butterfly Lighting
Butterfly Lighting creates a very distinct butterfly shadow under the nose of the subject.
This can be quite a flattering light technique and is especially good when you want your subject to look their absolute best.

Butterfly lighting is also the simplest lighting to achieve.
Simply, you need to place your light above the camera, and above the subjects head height.

Quite often a reflector or tri flector is used to fill in additional shadows which can be created by the slight angle of the flash.
Which light to use for which subject? Well, that is up to you… You’ll need to practice all of these techniques regularly and it will soon become second nature.
Once you have the techniques memorized, you’ll start to notice that certain body shapes work better with certain light patterns.
Share:
How to Choose The Right Camera Bag
Do I need a field monitor for video?